This Valentine's Day look, or everyday look, is meant to be more natural and simple-looking. Whether you're spending time with a husband/boyfriend or hanging with friends sometimes it's nice to look natural, but still put together.
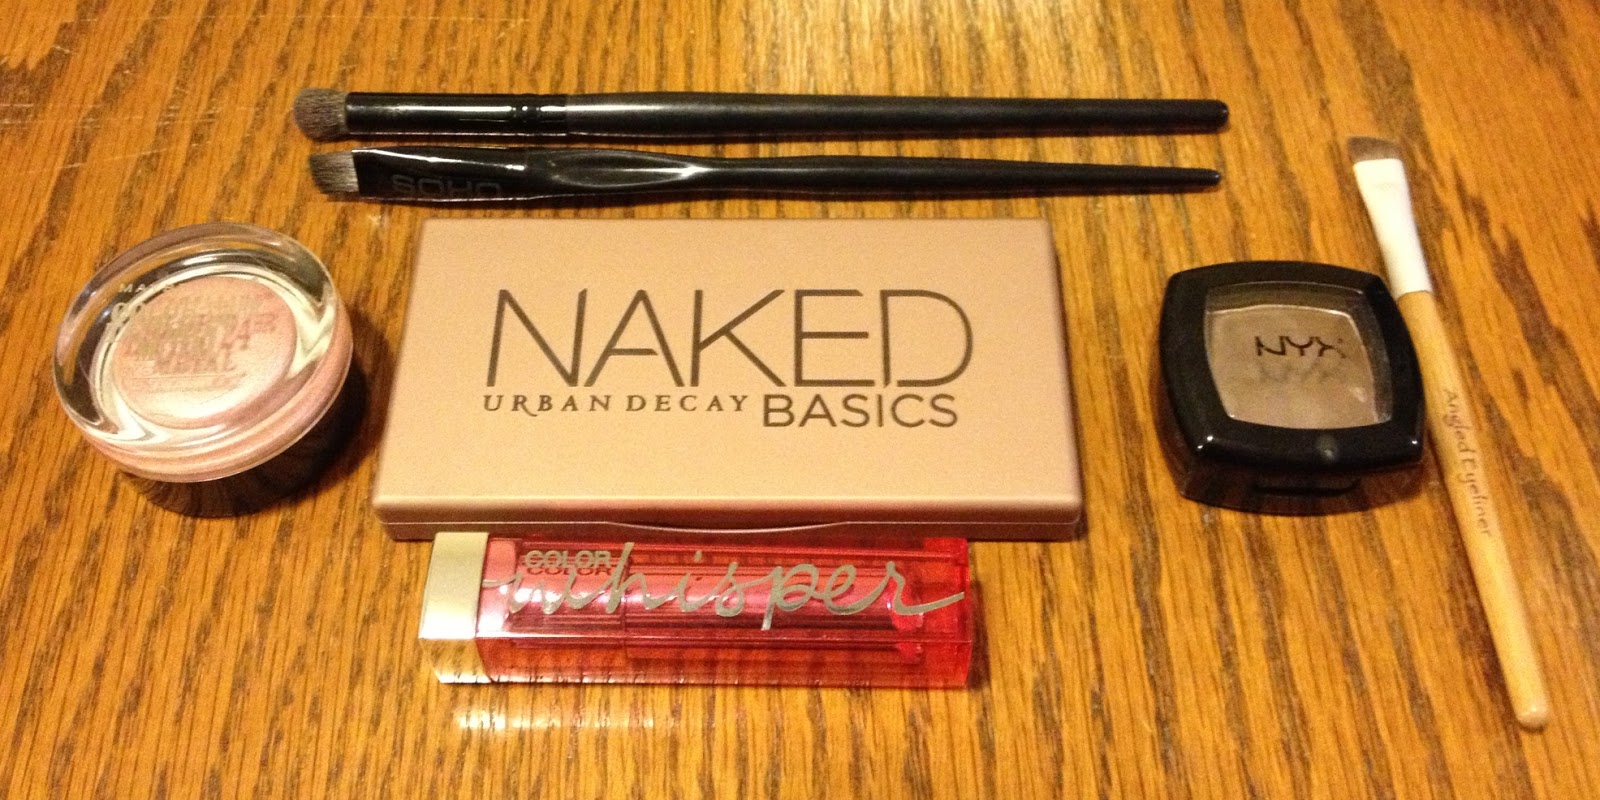
Here's the arsenal of products minus mascara. Many were featured in my January favorites:
 |
| Here's everything I used for the look, minus mascara! Oops! |
And here's the look:
 |
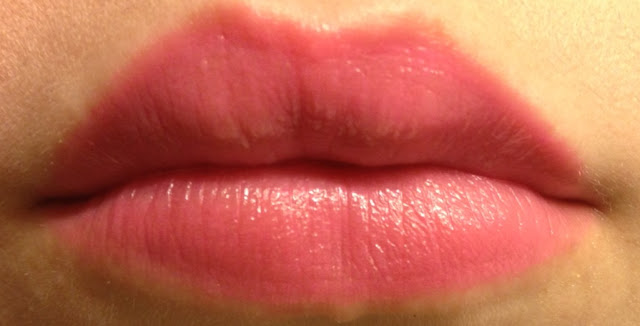
| Natural-no lipstick |
You might not want to wear lipstick (just lip balm) for a more natural look. Or if you're smooching! lol
 |
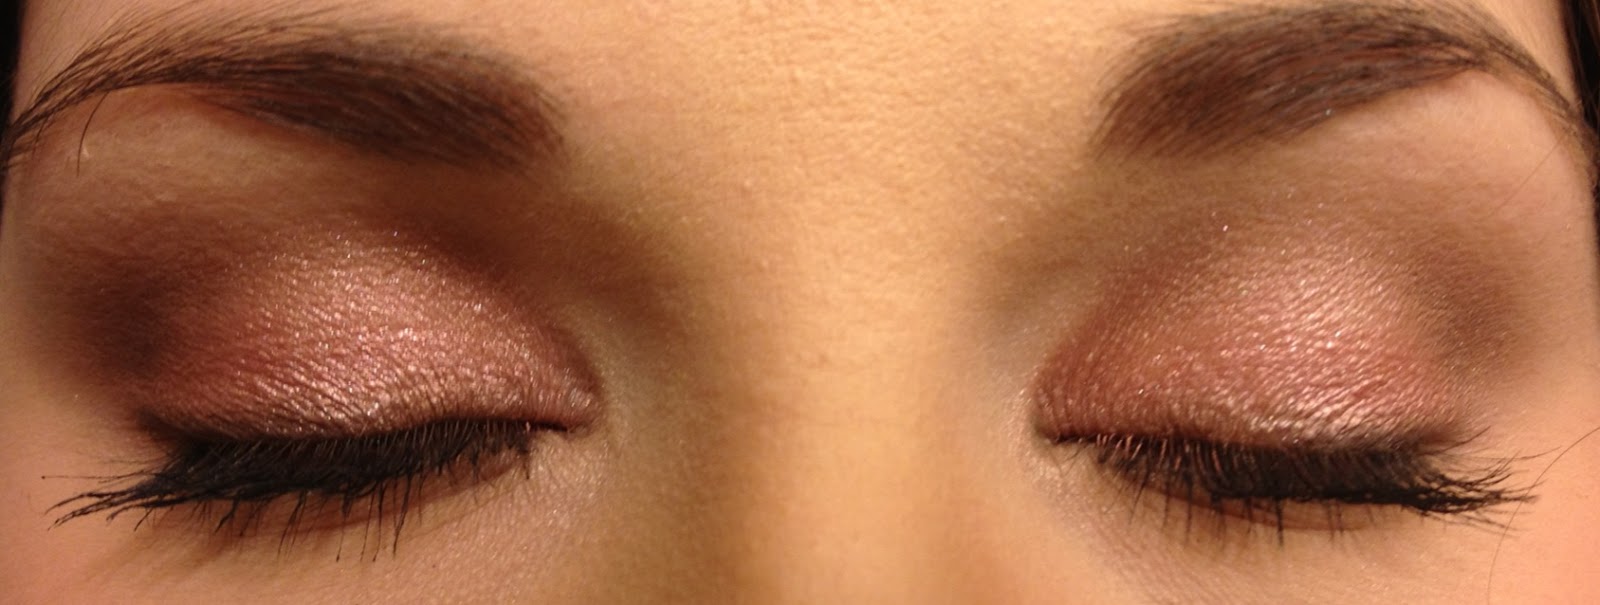
| The eyes! Excuse the wonky eyebrow, lol. |
 |
| Eye open |
 |
| Eye closed |
 |
| With lipstick added |
Use a sheer lipstick to give a pop of color!
 |
| Maybelline Color Whisper in Pink Possibilities |
Now for how to achieve the look:
 |
| For evening out the skin tone: (by row from left to right) Maybelline Instant Age Rewind Dark Circle Eraser Treatment Concealer in Fair, Bareminerals Mineral Veil, Pur 4-in-1 Pressed Mineral Makeup SPF 15, Maybelline Coverstick Concealer in Light Beige, Maybelline Fit Me Concealer in Fair, Urban Decay Optical Blurring Brush, ELF Professional Concealer Brush. |
- After prepping the skin with moisturizer, I used the Maybelline Fit Me Concealer in 15 Fair around my nose. This concealer is great at covering up the redness around my nose without caking up like many concealers tend to.
- Next, I used the Maybelline Instant Age Rewind Dark Circle Eraser Treatment Concealer in Fair under my eyes. I tapped the concealer in with my fingers, then applied Bareminerals Mineral Veil over the top in order to set the concealer. I haven't used Mineral Veil for a long time (hence the old packaging) until I discovered just how wonderful it sets under eye concealer. It's the only powder that prevents my under eye concealer from creasing!
- I covered up any blemishes or post-acne spots with the Maybelline Coverstick Concealer in Light Beige. Now I never hear anyone talk about this concealer but it's hands down the best concealer for blemishes. It's full coverage without clogging my pores or causing breakouts. It's also waterproof, and does not move throughout the day whatsoever. It's best for pinpoint concealing rather than large areas of the face, which is why I do not use it under my eyes (it's just too thick). I prefer to use the ELF Professional Concealer Brush to pinpoint small areas and blend with my fingers.
- Next I applied powder foundation to further blend out the concealer and even out my skin tone. Today I used the Pur 4-in-1 Pressed Mineral Makeup SPF 15 over my entire face using the Urban Decay Optical Blurring Brush.
 |
| For adding color and dimension to the skin tone: (from left to right): ELF Studio Blush Brush, The Balm Mary-Lou Manizer Highlighter, The Balm Frat Boy Blush, I on Beauty Blusher Brush, I on Beauty Powder Brush, Tarte Amazonian Clay Bronzer in Park Ave Princess (3.2g sample), Benefit Hoola Bronzer (3g sample). |
- I applied The Balm Frat Boy Blush to the apples of my cheeks, blending back toward my cheekbones using the ELF Studio Blush Brush.
- Next I used the I on Beauty Powder Brush to contour my cheekbones with a matte bronzer, a sample of Benefit Hoola. I also used a very small amount on the sides of my nose. I do this less for contouring, but rather to warm up my nose a bit, since it tends to look too pale after adding blush/bronzer to my face.
- Then I took a bronzer with a bit of sheen/shimmer, the Tarte Amazonian Clay Bronzer in Park Ave Princess, onto the top of my forehead and a bit on my neck to warm up my skin tone using the same I on Beauty Powder Brush.
- With the I on Beauty Blusher Brush, I applied The Balm Mary-Lou Manizer Highlighter to the tops of my cheek bones. These I on Beauty Brushes are very tiny, so I'm able to contour or highlight an exact portion of my face very precisely.
 |
| For the eyes and lips: (from left to right): ELF Studio Contour Brush, Soho Eyeliner Brush, Maybelline Color Tattoo Metal in Inked in Pink, Urban Decay Naked Basics Eyeshadow Palette, NYX Dark Brown Eyeshadow, I on Beauty Angled Eyeliner Brush, Maybelline Color Whisper in Pink Possibilities. |
 |
| Close-up of the Urban Decay Basics Palette |
- For the eyes, I applied the Maybelline Color Tattoo Metal in Inked in Pink all over the lids and up into the crease using my fingers.
- Next, I used the ELF Studio Contour Brush to apply Naked 2 into the crease. Using the same brush I applied Faint to the outer crease.
- I blended all the crease shades together using a Clinique Blending Brush (not pictured).
- I used the Ecotools Flat Eyeshadow Brush (not pictured) to apply a mixture of Foxy and W.O.S. (Walk of Shame) to my brow bone, as well as just under the outer corners in order to define the shape of the shadow. Then I took the same brush and applied a small bit of Venus to the brow bone and the inner corner of the eyes. Venus is the only shimmery highlight shade of the palette; the rest are matte.
- I used the Soho Eyeliner Brush to apply Faint as an eyeliner on both the top and bottom lash lines. I only used a tiny bit on the lower lash line. A bit of Crave was used on the outer edges of the upper lash line. Using a brown eyeshadow instead of a pencil/gel eyeliner makes the overall look much softer.
- I applied a sample of Tarte Lights, Camera, Lashes! Mascara (not pictured) to the top and bottom lashes.
- Next I took the I on Beauty Angled Eyeliner Brush and applied NYX Dark Brown Eyeshadow to fill in my brows. I set my brows in place by combing them out with a Spoolie brush (not pictured) and setting them with ELF Wet Gloss Lash & Brow Clear Mascara (not pictured).
|
| Just added the pic again, so it's easier to follow along. Excuse the lighting; it makes one eye look more intense than the other. |
- Last, but not least, I applied Maybelline Color Whisper in Pink Possibilities to my lips. It's a matte, creamy, sheer bubblegum pink. Perfect for Valentine's Day, but not too loud.
|
| Matte, creamy, sheer bubblegum pink. |
And that's it! Have a great day!
Disclosure: These products were purchased by me for review purposes. I was not paid or compensated in any way. All opinions are my own.


You are gorgeous and I love the products you used, especially the UD palette and the bare minerals foundation! You are so naturally pretty
ReplyDeleteA little bit Unique
x
Oh and I'm running a giveaway, if you want to pop over and have a nosey! Giveaway here
Thank you so much!
DeleteI checked out your blog, and I'm loving your fashion posts. Congrats on 400 subscribers! I just subbed myself, and maybe I can improve my fashion sense! lol
Very pretty look dear!! I love the eyes!! :)
ReplyDeleteThank you! I have some more looks coming later this week!
Delete