Hey everyone! I wanted to list out the steps of my everyday foundation routine, which I mostly did, in my
last post. That way when I do looks in the future I can skip the foundation part (unless I do something different), and refer you to this page.
 |
| All current possible products used during foundation routine. |
As a quick note, I do a concealer and powder foundation routine because I rarely use liquid or cream foundations. I just find that I break out a lot more often when I use foundations I can really feel on the skin. It doesn't mean I won't try any in the future; it just means I haven't found the right stuff yet!
 |
| Skin Care Prep: Biore Blemish Fighting Ice Cleanser, Formula 10.0.6 So Totally Clean Everyday Cleanser for Sensitive Skin, Up and Up Cotton Rounds (from Target), Olay Complete Al Day Moisture Cream for Sensitive Skin. |
1) I start by prepping my face for make-up. A smooth, clean canvas allows your make-up to apply much more readily, last a lot longer, and just look better in general. I wash my face with the
Biore Blemish Fighting Ice Cleanser. Biore's cleanser is great at really deep cleaning the skin, and it hasn't failed me yet! Then I tone my skin with
Formula 10.0.6 So Totally Clean Everyday Cleanser Sensitive Formula using a
Cotton Round (I like the ones from Target). I love this toner because it's alcohol free; it'll clean and balance the skin without drying it out. Lastly, I moisturize my skin using the
Olay Complete All Day Moisture Cream for Sensitive Skin Broad Spectrum SPF 15. I love this stuff to death since I'm so nervous about moisturizers breaking me out; this one is great at giving enough moisture without leaving my skin greasy.
 |
| Priming: Smashbox Photo Finish More Than Primer in Dark Spot Correcting. |
2) This step involves face primer. I don't always use face primer, unless I know I'm going to have a long day, and I want my make-up to last. My current primer is the
Smashbox Photo Finish More Than Primer in Dark Spot Correcting. I put this all over my face using my hands, especially concentration on the T zone.
 |
| Concealing around the nose: Maybelline Fit Me Concealer in 15 Fair. |
3) After prepping the skin, I use the
Maybelline Fit Me Concealer in 15 Fair around my nose. This concealer is great at covering up the redness around my nose without caking up like many concealers tend to.
 |
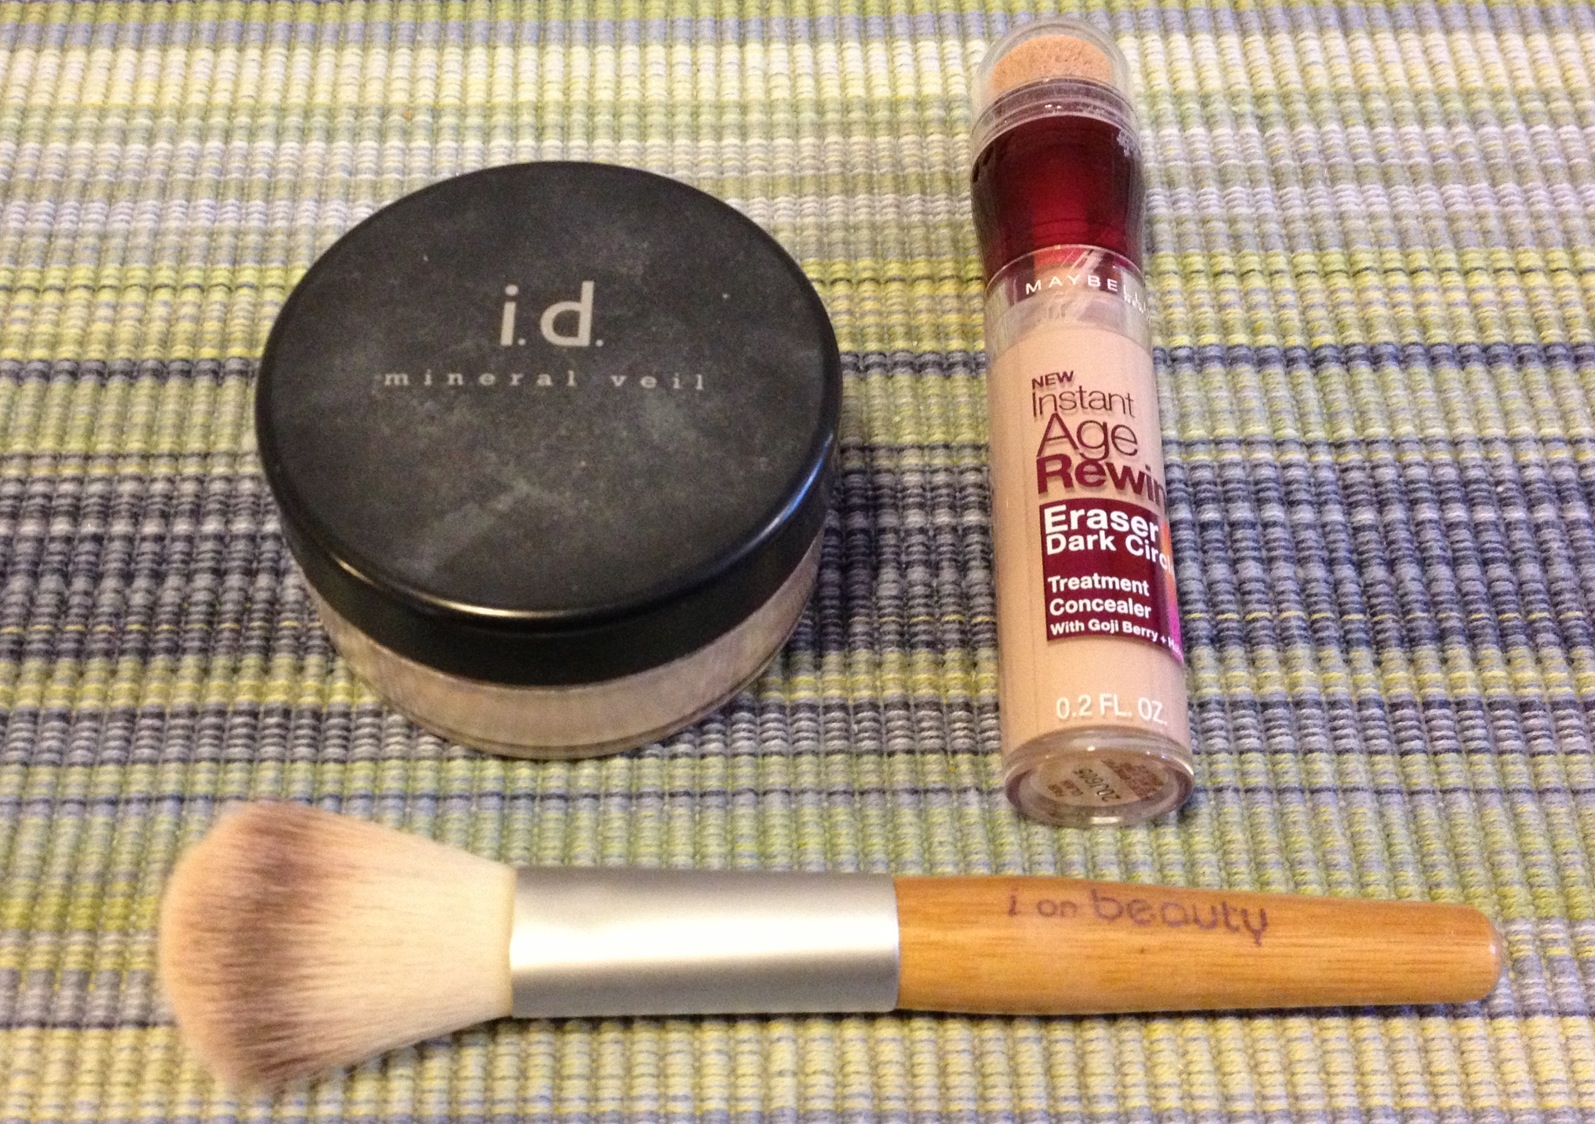
| Concealing the under eyes: Bareminerals Mineral Veil, Maybelline Instant Age Rewind Dark Circle Eraser Treatment Concealer in Fair, I on Beauty Powder Brush. |
 |
| Maybelline Instant Age Rewind Dark Circle Eraser Treatment Concealer in Fair |
4) Next it's all about the under eyes. I use the
Maybelline Instant Age Rewind Dark Circle Eraser Treatment Concealer in Fair under my eyes. I tap the concealer in with my fingers, then apply
Bareminerals Mineral Veil over the top in order to set the concealer with the
I on Beauty Powder Brush. I haven't used Mineral Veil for a long time (hence the old packaging) until I discovered just how wonderful it sets under eye concealer. It's the only powder that prevents my under eye concealer from creasing!
 |
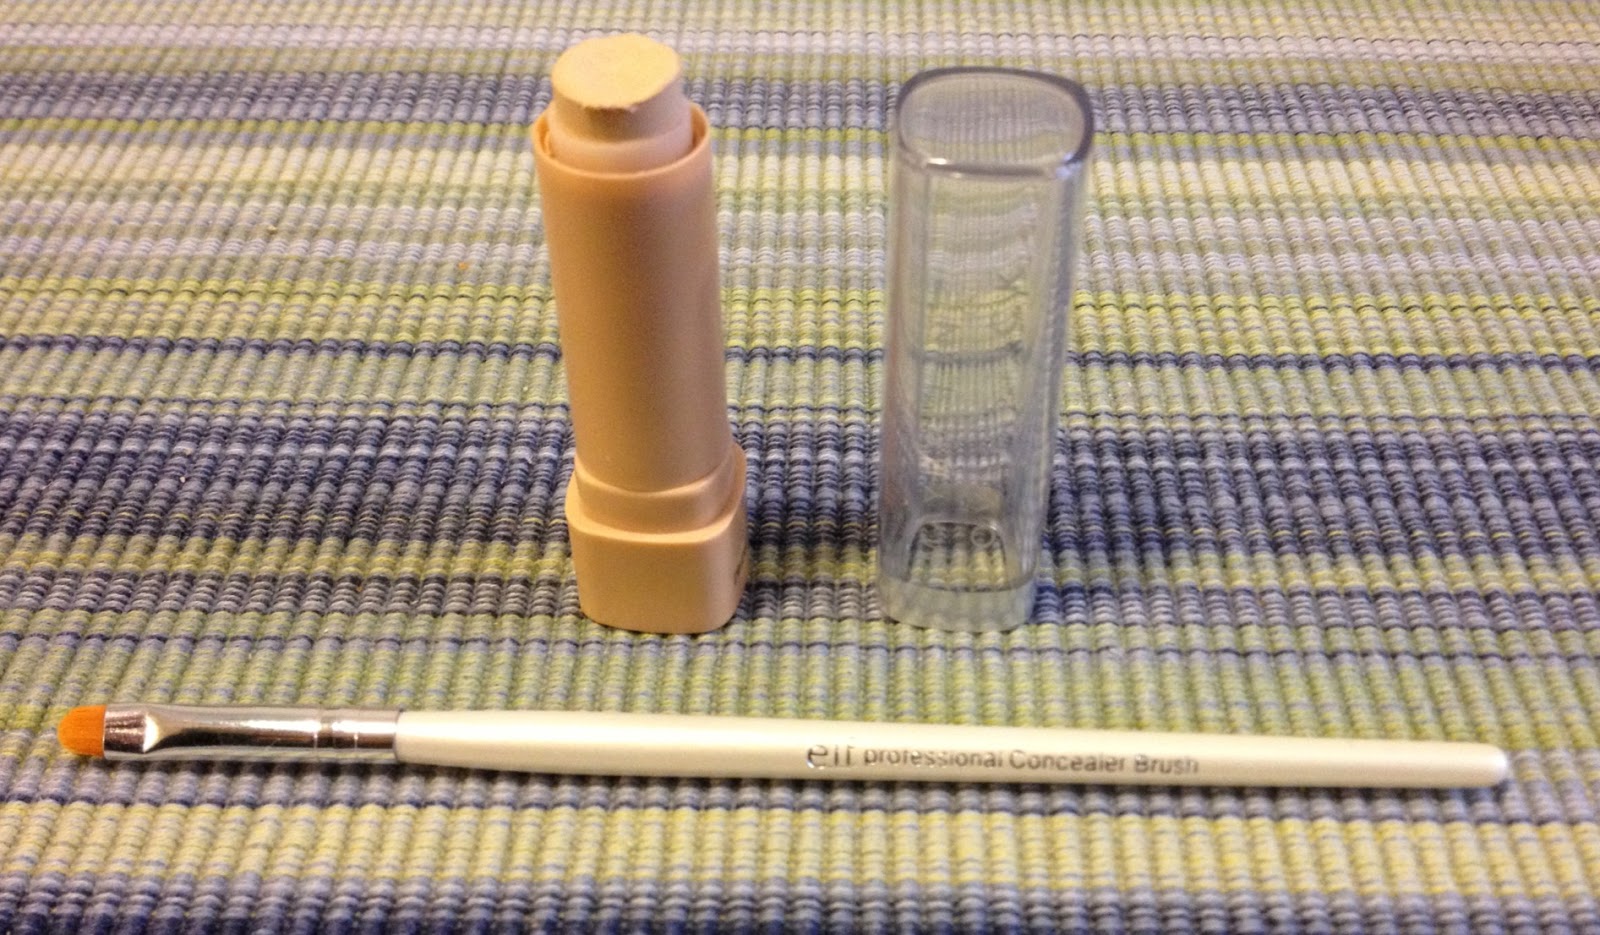
| Concealing blemishes: Maybelline Coverstick Concealer in Light Beige, ELF Professional Concealer Brush |
5) Now I deal with blemishes and post-acne spots. I cover up any spots with the
Maybelline Coverstick Concealer in Light Beige. Now I never hear anyone talk about this concealer but it's hands down the best concealer for blemishes. It's full coverage without clogging my pores or causing breakouts. It's also waterproof, and does not move throughout the day whatsoever. It's best for pinpoint concealing rather than large areas of the face, which is why I do not use it under my eyes (it's just too thick). I prefer to use the
ELF Professional Concealer Brush (only $1!) to pinpoint small areas and blend by patting it in with my fingers.
 |
| The Powder Foundations: Maybelline Mineral Power Natural Pefecting Powder Foundation SPF 18 in Classic Ivory, Bareminerals Original SPF 15 Foundation in Fairly Light (in limited edition packaging), Pur 4-in-1 Pressed Mineral Makeup SPF 15 in Porcelain. |
 |
| The powder foundation brushes: Ecotools Blush Brush (lightest coverage), ELF Studio Powder Brush (medium coverage), Urban Decay Optical Blurring Brush (full coverage). |
6) Next it's all about the powder foundation. I apply powder foundation to further blend out the concealer and even out my skin tone. I either use the
Maybelline Mineral Power Natural Perfecting Powder Foundation SPF 18 in Classic Ivory,
Pur 4-in-1 Pressed Mineral Makeup SPF 15 in Porcelain, or
Bareminerals Original SPF 15 Foundation in Fairly Light. I apply the powder foundation with one of three brushes:
Ecotools Blush Brush (works well all over the face even though it's supposed to be for blush),
ELF Studio Powder Blush, or
Urban Decay Optical Blurring Brush. With the Ecotools brush, I swirl it into the product and buff into the skin (like they do in the Bareminerals videos). With the ELF brush I take advantage of its flat-topped shape, and I stipple it into my face. With the Urban Decay brush, I use a mixture of buffing and stippling motions; the brush is so dense, it's hard to really mess up. The Urban Decay brush gives the fullest coverage, while the Ecotools brush is the most natural.
 |
| The final touches: Bareminerals Multi-Tasking SPF 20 Concealer in Bisque and Bareminerals Maximum Coverage Concealer Brush (it's seen better days, I know). |
7) Now is the time I fix any mistakes I might have made or increase the coverage on any imperfections. To do this I use the
Bareminerals Multi-Tasking SPF 20 Concealer in Bisque (for a full review click
here). I put this on my under eye area if I still look a bit tired or if my dark circles are particularly bad. I also put a bit of this powder over blemishes that might still look a bit obvious. You know how even if you cover up a blemish, it still looks raised from the skin? Bisque gives blemishes a soft-focus feel, so the blemish doesn't look so uneven. To apply this concealer, I use the
Bareminerals Maximum Coverage Concealer Brush. If my skin looks fine, I skip this step all together.
 |
| Setting my makeup: Urban Decay All Nighter XL Long-Lasting Makeup Setting Spray-I got this on sale before Urban Decay discontinued this type of packaging. It's still available in the regular size, just with a new design. |
8) Lastly, I set my face with the
Urban Decay All Nighter Long-Lasting Makeup Setting Spray. Like primer, this is an optional step that I only do on days when I want my make-up to really last, hot/humid weather, or when I feel like my make-up looks powdery/cakey. This setting spray is great at giving your skin a more natural-looking finish, as well as giving it a bit of waterproofing.
With the finished look I typically look like:
 |
| Me with simple make-up only. |
Or when I'm being silly:
 |
| Making a face. |
Hope you are all having an amazing Tuesday!
Disclosure: These products were purchased by me for review purposes. I was not paid or compensated in any way. All opinions are my own.


Nice post :) I'm a new follower, so if you get bored and fancy checking out my blog it would be much appreciated xx
ReplyDeletebetweentodaytomorrow.blogspot.co.uk
Thank you! I just subbed to you, and I love your songs of the day. I'd also love to incorporate music into my blog!
Delete